 Until a web application is at the development stage, you may ignore bundling modules. But when it goes to production, you start considering minification and reducing a number of requests for static resources to the server. Webpack is currently one of the most popular solutions for that.
Table of contents
If you want to jump to other parts of the tutorial, use table of contents.
What is Webpack?
Webpack is a tool that manages all aspects of creating bundles with code and resources. It can take care of gathering code together, images compression, SCSS to CSS generation etc. Cache busting is also not an issue. As a result you may get a set of files ready for packing and deployment. It's mainly a manager of this process and most of the work is done by plugins and loaders which gives huge configuration possibility.
This tutorial
It is going to be sample application development along with webpack configuration. I am going to show you how this tool can be used for various aspects of web application bundling. We are going to start from a very simple example and it is going to evolve step by step to more and more complex application and configuration.
Sample application
The website that I am going to use for this tutorial is going to be as simple as possible but complex enough to show solutions for various common issues with bundling. At this moment it is a website not a whole web application with a backend to reduce amount of source code and for simplicity. Webpack is not going to bundle the backend part of the application so I am not going to worry about it right now.
The main and the newest source code is available on GitHub at master branch but each part of this tutorial is going to have it's own branch. When writing this article I am referring to the code checked into https://github.com/dba-presents/multi-page-webpack-example/tree/tutorial/part01-introduction.
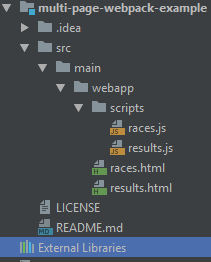
The business purpose of the application is to present race results to runners. It has two web pages:

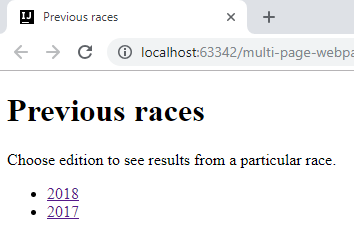
- races.html which shows a list of two races: 2018 and 2017 edition; when a user click on a particular link, then he/she is directed to results

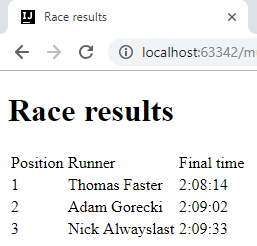
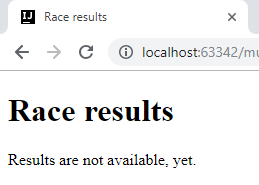
- results.html which presents best runner if 2017 edition is chosen or a message that the results are not available yet if 2018 was clicked.


Each of the above pages has a JavaScript file associated with it which dynamically loads data. It is quite simple script but it gives some space for Webpack.
The website can be easily deployed and run by copying content of webapp directory to Tomcat or if you use IntelliJ IDEA, you can just click with the right mouse button on the races.html file and choose Run 'races.html'.

